Data Forwarding
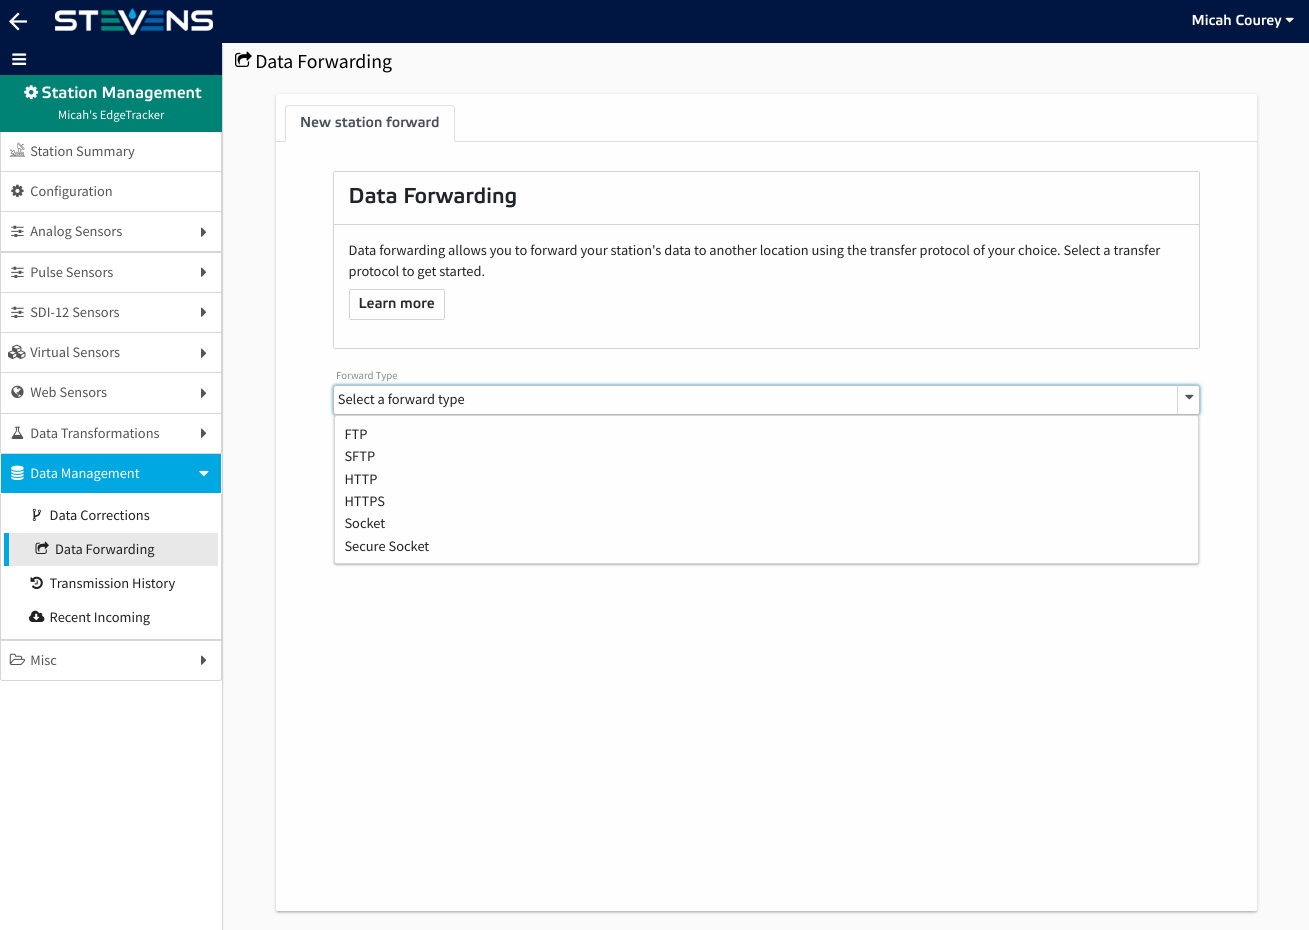
Data forwarding allows you to forward all of your station's data to an external location using one of several transfer protocol options. currently offers forwarding with the following transfer protocols:
- FTP: The File Transfer Protocol (FTP) is a standard network protocol used for the transfer of computer files between a client and server on a computer network.
- SFTP: the SSH File Transfer Protocol (also Secure File Transfer Protocol, or SFTP) is a network protocol that provides file access, file transfer, and file management over any reliable data stream.
- HTTP: The Hypertext Transfer Protocol (HTTP) is an application protocol for distributed, collaborative, and hypermedia information systems. HTTP is the foundation of data communication for the World Wide Web.
- HTTPS: HTTP Secure (HTTPS) is an extension of the Hypertext Transfer Protocol (HTTP) for secure communication over a computer network, and is widely used on the Internet. In HTTPS, the communication protocol is encrypted using Transport Layer Security (TLS), or formerly, its predecessor, Secure Sockets Layer (SSL). The protocol is therefore also often referred to as HTTP over TLS, or HTTP over SSL.
- Socket: Socket.IO is a JavaScript library for realtime web applications. It enables realtime, bi-directional communication between web clients and servers. You can use Stevens' custom Socket.IO Data Server implementation for receiveing data from .
- Secure Socket: HTTPS Socket.IO server. You can use Stevens' custom Socket.IO Data Server implementation for receiveing data from .
Prerequisites
Before setting up data forwarding, ensure that your server and database are configured to receive incoming data through one of the transfer protocols listed above. Once your server is setup you can follow the steps below to setup data forwarding.
Data Forwarding Setup Steps
- Navigate to the Station Management page for the station who's data you would like to forward.
- Press the 'Data Management' option in the Station Management side menu and then press 'Data Forwarding' from the expanded menu.

- Select the forwarding protocol type that you have configured your remote server to receive.
- Give your forward a unique name and description.

-
Select which format you would like receive your data in. The following options are available:

-
Stevens format: Selecting Stevens format will forward your data in JSON syntax. Here's an example of what the output data will look like:
{ "project_id": 1, "project_name": "Sample Project", "station_id": 100, "station_name": "Sample Station", "readings": [ { "applied_offset": 0, "applied_scale": 100, "channel_id": 123, "channel_name": "Soil Moisture", "original_reading": 0.23, "reading": 23, "sensor_id": 10, "sensor_name": "HydraProbe", "timestamp": "2018-01-19 23:01:00", "unit": "Percent" } ] } -
Raw data: Selecting this option will forward your data in the same format in which it is received. The format will vary depending on which type of station you are forwarding from.
-
-
Configure the host name, port and path based on your server's configuration.

- Configure any protocol specific settings such as username and password. If N/A then leave the fields blank.

- Once you've filled in all of the form fields, press the 'Submit' button to create your new forward.
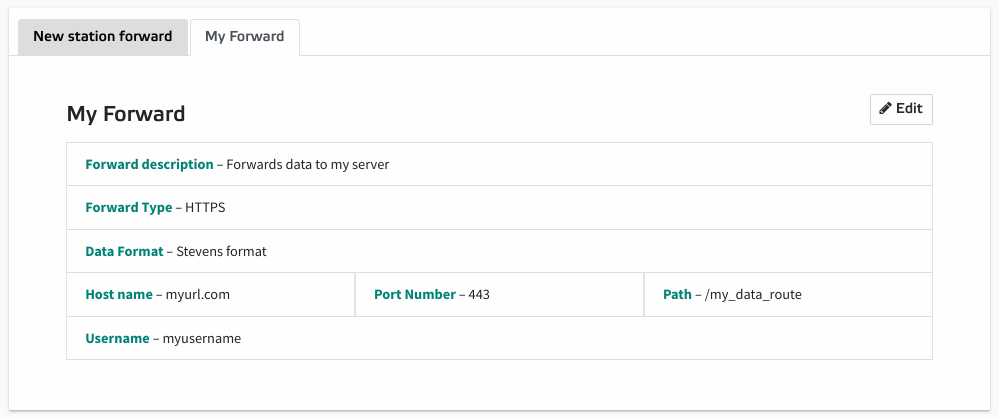
- You should now see that a new tab has been added for your new forward.

You can click the tab for your forward to view it's configuration settings and/or update the configurations at any time. Note that once you've created a forward for one station, you can copy this forward to other stations within your project.
Copying Data Forwarding Configuration to Additional Stations Steps
- Navigate to the Station Management page that contains the original forward that you would like to copy.
- Press the 'Data Management' option in the Station Management side menu and then press 'Data Forwarding' from the expanded menu.
- Select the forward that you would like to copy.
- Press the 'Edit' button on the forward display card.
- Now that you're in edit mode press the 'Copy Forward' button at the top of the card.
- Select the station that you would like to copy the forward to from the dropdown list.
- Enter the password that you gave to this forward when it was originally created.
- Press the 'Submit' button.
- Navigate to the Station Management page for the station that you copied the forward to and verify that the new forward has been created.